First, you look at it, maybe swirl it a bit. Then you smell it and taste… Or wait, isn't that what you do with wine?
Joking aside, coffee cupping—or tasting, as it is often called—is similar to the process wine sommeliers use. Through this process, coffee professionals rate and label coffee beans.
Does it meet their standards? What flavor notes should be listed on the bag? These attributes are determined by coffee cupping.
For those interested in growing their coffee literacy, coffee cupping can be done at home. This way you can practice recognizing attributes of the coffee and impress all your friends with your refined palette.
How to Cup Coffee
When cupping coffee, you'll be be evaluating the aroma and the flavour. The most important aspect of the coffee cupping process is its repeatability. This as an easy step-by-step guide that will help you stay consistent each time you cup coffee. We'll walk you through the Specialty Coffee Association's (SCA) cupping process.
To start, there is some equipment you’ll need to gather.
Coffee Cupping Equipment
- Coffee: Around 20 grams of different coffees. More coffee allows for more comparison to provide a frame of reference for flavor.
- Grinder: Coffee cupping requires fresh ground coffee
- Scale: Used to measure the coffee weight for a proper water to coffee ratio
- Timer: Used to measure brew times and taste times
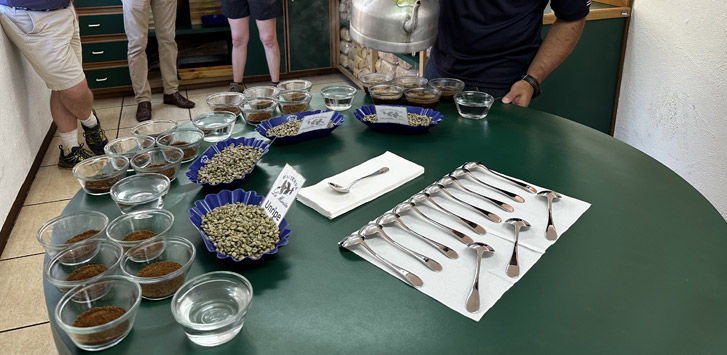
- Cupping bowls: Any shallow bowl with a wide mouth will work
- Hot water: You should have some on hand to rinse the spoons with
- Cupping Spoons: Soup spoons will also work
Coffee Cupping Steps
1. Grind
First, prime the grinder by grinding some of the beans you want to cup. This ensures those are the only beans in the grinder. You can set these grounds aside or discard them.
Then, grind your beans. Many guides suggest using a coarse grind, but this can make the flavors less distinct. Try a medium grind for the best results, or experiment with your grinder and find what works best for you.
Divvy up the grounds into separate cupping cups. About 2 to 3 per coffee grounds. Doing this allows room for error in case a defect pops up.
2. Observe the fragrance
Fragrance refers to the smell of the coffee when it is dry. Now that the coffee has been ground, it’s time to assess the fragrance. Take not of what fragrances you can smell.
3. Brew
Start by heating some water. After the water reaches boiling, start the timer and pour it into the bowls. You should use a 10:1 ratio with water to grounds.
4. Observe the aroma
Aroma refers to the smell of the coffee when it is wet. Now that the coffee is brewing, it’s time to assess the aroma. Identify as many aromas as you can.
During this time, let the coffee sit for 4 minutes without touching it. The grounds will begin to form a crust on top of the water.
5. Break the crust
At 4 minutes, it’s time to break the crust. This is done by pushing the coffee grounds that have risen to the top back into the bowl. When doing so, you want to avoid disturbing the grounds that have settled on the bottom.
You can further assess the aroma during this step by bending down to smell the coffee while you break the crust.
Rinse the stirring spoon between each cup.
6. Remove the foam
After breaking the crust, there should still be foam at the top of the cup. Carefully, use two spoons to remove this. The mixture should look like a normal cup of coffee when you’re done.
7.Taste
After the coffee has brewed for about 12 minutes, scoop the coffee onto a spoon and slurp the coffee. Slurping spreads the flavor over your all your taste buds, meaning you’ll get the fullest flavor.
Rinse your spoon in the hot water before moving on to the other cups.
When the coffee cools, the flavors change. To get the fullest picture of the flavor profile, you should taste the coffee multiple times after it cools. Second passes can be around 18 minutes, and third passes can be around 24 minutes.
How to Identify Coffee Flavor Notes
There are several different attributes that a coffee taster analyzes during cupping. These include the body, sweetness, acidity, flavor, and aftertaste.
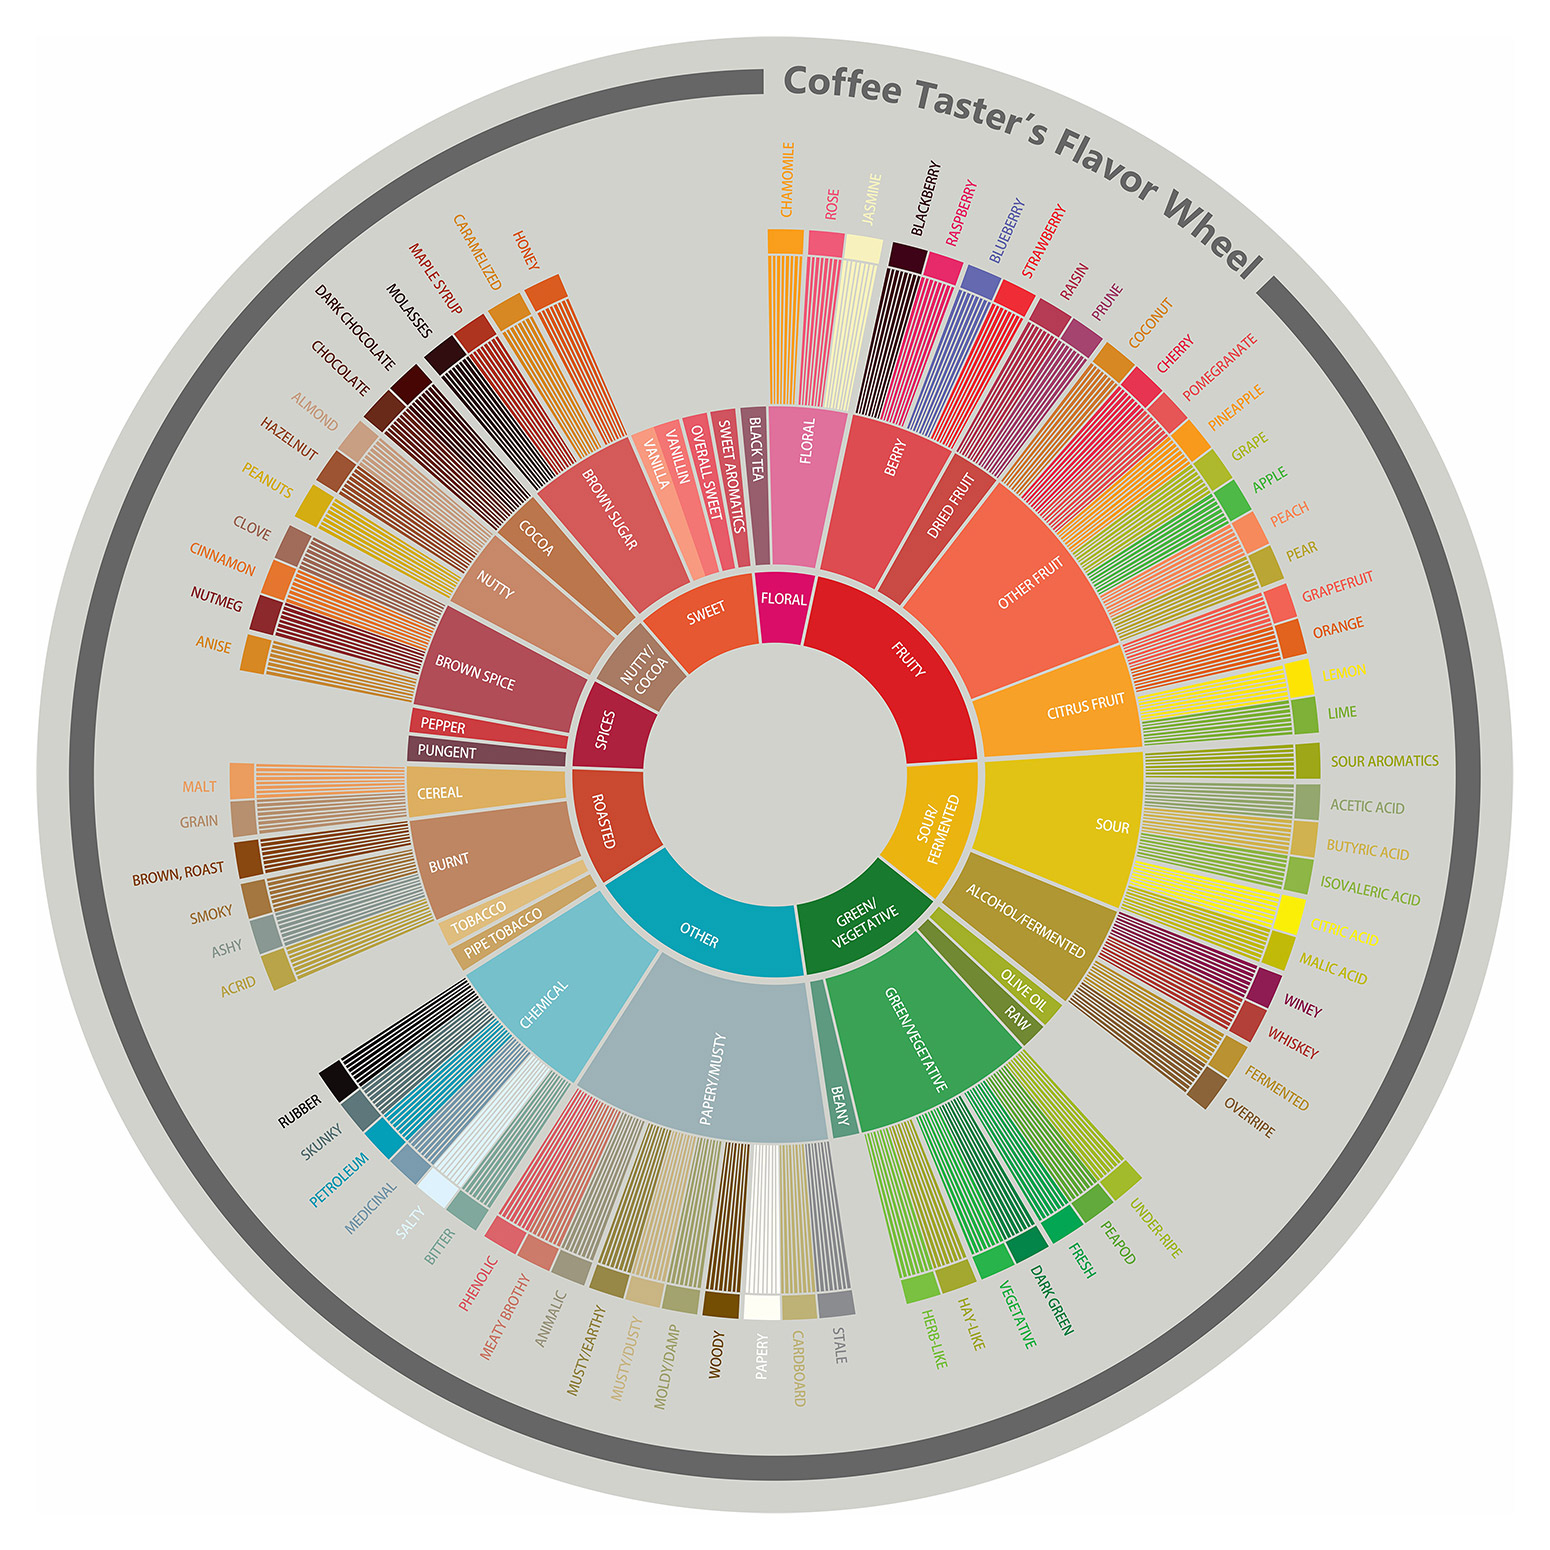
A great resource to reference is the coffee flavor wheel. This provides an excellent frame of reference to narrow down what you’re tasting. Another great resource is our coffee glossary, which goes over many popular coffee terms.
Now, let's get into the basic attributes you'll identify when cupping!
Aromas
Aroma is the smell of brewed coffee. This smell can be incredibly descriptive of the acidity and flavors in the coffee. Some of the best times for smelling the aroma are during brewing or right after breaking the crust when cupping.
Taste
Taste is the largest category here, often being divided into several subcategories, including acidity, bitterness, sweetness, saltiness, and sourness. These terms tend to be self-explanatory. Suffice it to say that they show up in varying degrees in different brews. Learning to recognize these flavor notes is an essential step in analyzing a cup of coffee.
Mouthfeel
Mouthfeel is often divided into two main categories: body and astringency. Body refers to the physical feeling of the coffee. A heavy body is a bit fuller, similar to whole milk, while a light body is thinner, similar to skim milk.
Astringency refers to that dry feeling you get in your mouth after a sip of coffee. The desirability of either trait relies entirely on preference.
How to Become a Q Grader
Q Grader stands for Quality Grader and refers to the professionals who are certified to evaluate coffee. This certification is granted by the Coffee Quality Institute (CQI). This system ensures that certain coffee standards are upheld internationally. There are different certifications for different varieties of coffee.
In order to be certified, you need to register for courses from an official Q instructor. Following the completion of the courses, you will be able to take the exam. Successfully completing the exam results in the granting of the certification.
It should be noted that there are relatively few courses and attending them may require travel. Recertification is also required every 3 years. For all who wish to attempt it, becoming a Q Grader is an excellent goal that benefits the coffee community. If you're starting on your Q Grader journey, we wish you the best of luck!