This heat wave has been something else. Fortunately, it’s the perfect time for the combination of two wonderful things: coffee and ice cream. Most recipes for coffee ice cream call for instant coffee, so if you’re a coffee connoisseur, now’s a great time to make your own instant coffee from the beans you’ve roasted recently.

There are two different ways to go about making ice cream, with the defining factor being whether you have an ice cream maker. For the most part, this recipe is similar to a choose your own adventure when it comes to ingredients and approaches.
If you don’t have an ice cream maker, you can mix your ingredients together with an electric mixer at medium speed. However, you’ll need slightly different ingredients, so you may want to find a specific recipe for that approach.
What You’ll Need
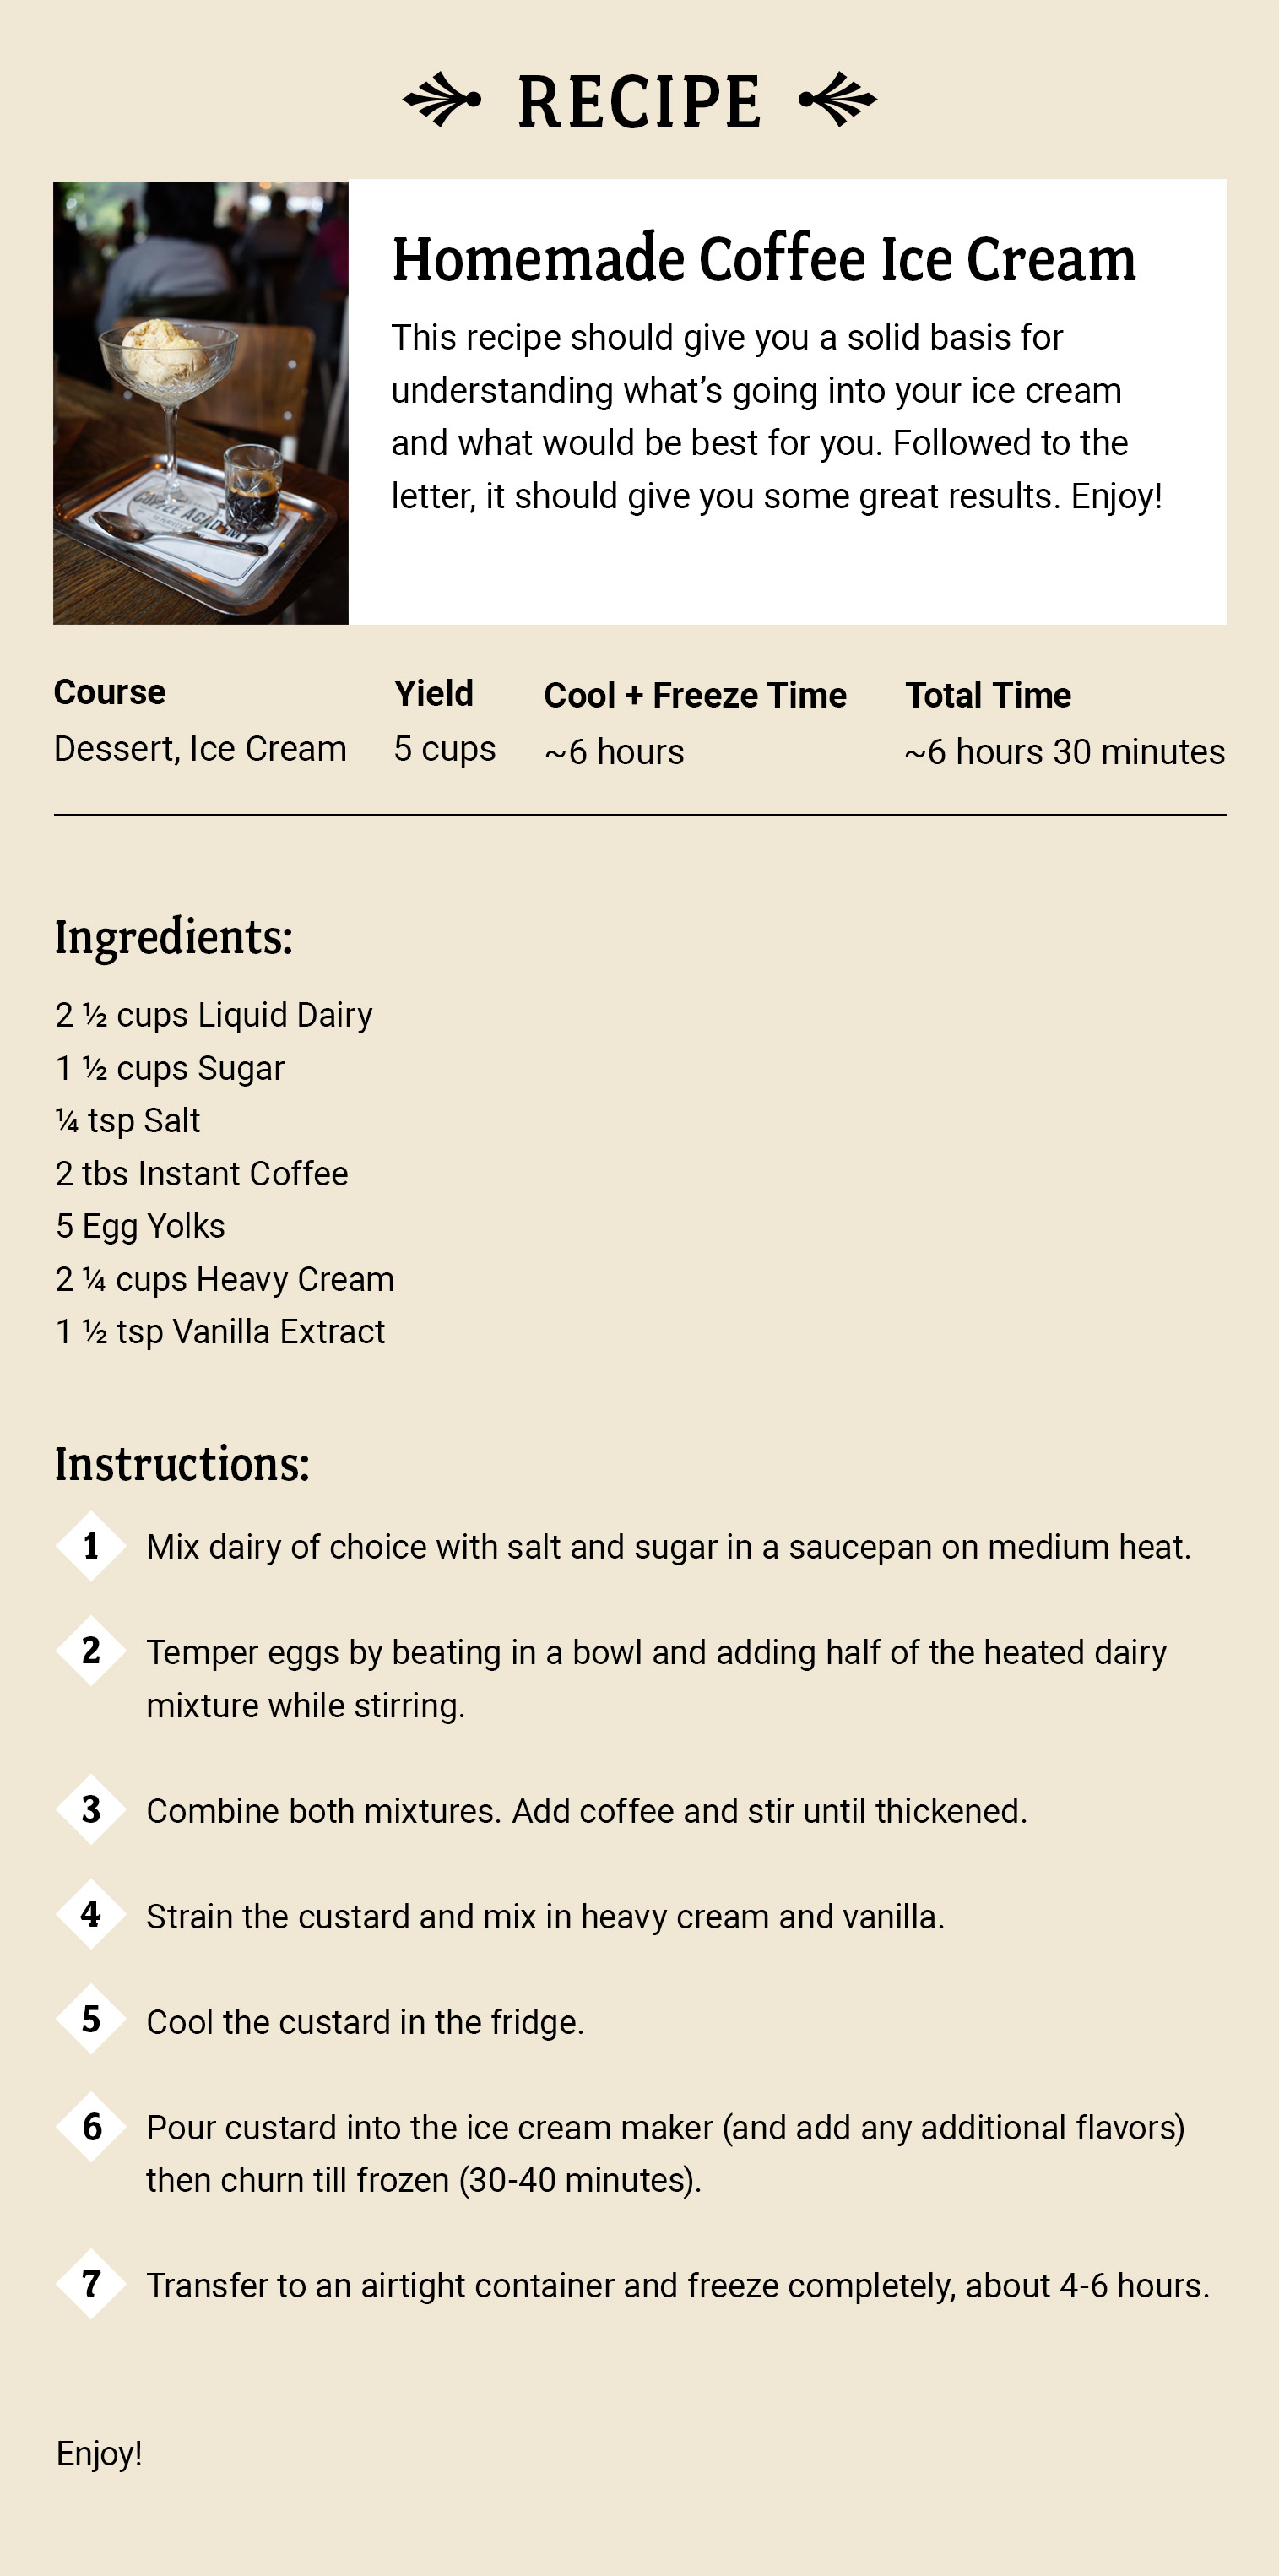
Ingredients:
2 ½ cups Liquid Dairy
1 ½ cups Sugar
¼ tsp Salt
2 Tbs. Instant Coffee
5 Egg Yolks
2 ¼ cups Heavy Cream
1 ½ tsp Vanilla Extract
A Little Bit of Science
It’s a bit confusing to list an ingredient as just “dairy,” but in this case it’s an opportunity. Dairies range from skim milk—which has no fat—to heavy cream—which has significantly more. Choosing a different dairy massively affects the final consistency of the ice cream. Skim milk will be sort of icy, while heavy cream will be extremely smooth and rich. You could even forgo the dairy for almond or oat milk if you wanted. We recommend using a ratio of 1:1 or 2:1 liquid dairy to heavy whipping cream in this recipe.
Sugar is another ingredient that has a bit of flexibility. The addition of sugar helps the ice cream morph into the creamy texture we know and love. However, too much sugar may make the ice cream excessively sweet or thick.
Salt, oddly enough, plays a similar role to sugar in ice cream chemistry. Both lower the freezing point of water so that the ice cream can be cold and creamy instead of a block of ice. Too much salt might make the ice cream runny and salty.
Eggs can be a controversial ingredient for ice cream. First of all, they need to be heated, which adds a step to the process. They also aren’t vegan friendly. So, what are they even there for? You can remove the eggs if you want, but they actually have a large effect on the final product. Egg yolks extend shelf life by inhibiting thawing, contribute to a rich, creamy texture, and add a depth of flavor to the ice cream. While this flavor doesn’t compliment every kind of ice cream, we think it works perfectly with coffee. If you choose to remove the eggs, note that you’ll be able to skip to mixing the ingredients rather than cooking them.
How to Make Coffee Ice Cream
Step 1. Make the Base
The first step is to get your liquid dairy mixed with the sugar and salt. You should do this in a saucepan over medium heat.
The tricky bit is making sure that you don’t curdle any eggs, so get them cracked and beat in a separate bowl.
Once your dairy mixture is nice and warm, add half of it to the eggs, whisking them as you pour. You can then pour that back into the dairy mixture.
Add the coffee granules and whisk until the mixture has thickened.
To ensure you don’t have any cooked egg in your ice cream, you can pour the mixture through a mesh strainer.
Heavy cream and vanilla can either be added at this point or during the churning on Step 3.
Note: If you aren’t using eggs, just mix the ingredients together until everything has dissolved and the mixture is smooth. Then proceed with the recipe.
Step 2. Chill the Custard
Move the newly created custard into an airtight container and put it in the fridge. The mixture needs to cool completely. This will take longer depending on how hot it was in the previous step.
Step 3. Churn the Ice Cream
Pour your chilled custard into your ice cream maker and leave it to churn for about half an hour. At this point, you can add additional flavors that you want like chocolate.
Note: If you’re not using an ice cream maker, start at this step. Simply mix all your ingredients together and proceed with the instructions.
Step 4. Freeze the Ice Cream
Scoop your ice cream out of the ice cream maker and into an airtight container. All that’s left now is to freeze it to a servable ice cream consistency. This should take about 4-6 hours.
Step 5. Time to Serve!
You’re all done! Your ice cream is ready to eat. We definitely recommend adding some fun toppings like whipped cream and a whole bucket of sprinkles.
Conclusion
While this may not seem like it relates directly to roasting coffee beans at home, we’re all trying to beat the heat. And this is one, fun way to use your roasted coffee beans that’s different than normal! We hope this recipe helps you survive the heatwave this summer, as we all hold on for the fall. Happy ice cream making!